|
|
|
|
Back
4,729.75 KB
Front
4,422.30 KB
Left
5,357.62 KB
Right
6,070.38 KB
After owning my Cybertruck for a while, and hauling multiple loads, I realized that it REALLY needed a better rear-view camera. I really wanted to be able to see into the bed when the load was tall enough to prevent the cover from closing. The rear view mirror is almost completely useless.
I decided to install a Wolfbox G900 pro dashcam. I also didn't really want more of the upper windshield view blocked with a big display, and preferred keeping it down where I can see it and the main display at the same time.
I had noticed that the dash storage tray I had purchased (see Amazon Storage Tray) has standard threaded mounting holes for cameras. So I decided to mount it there.
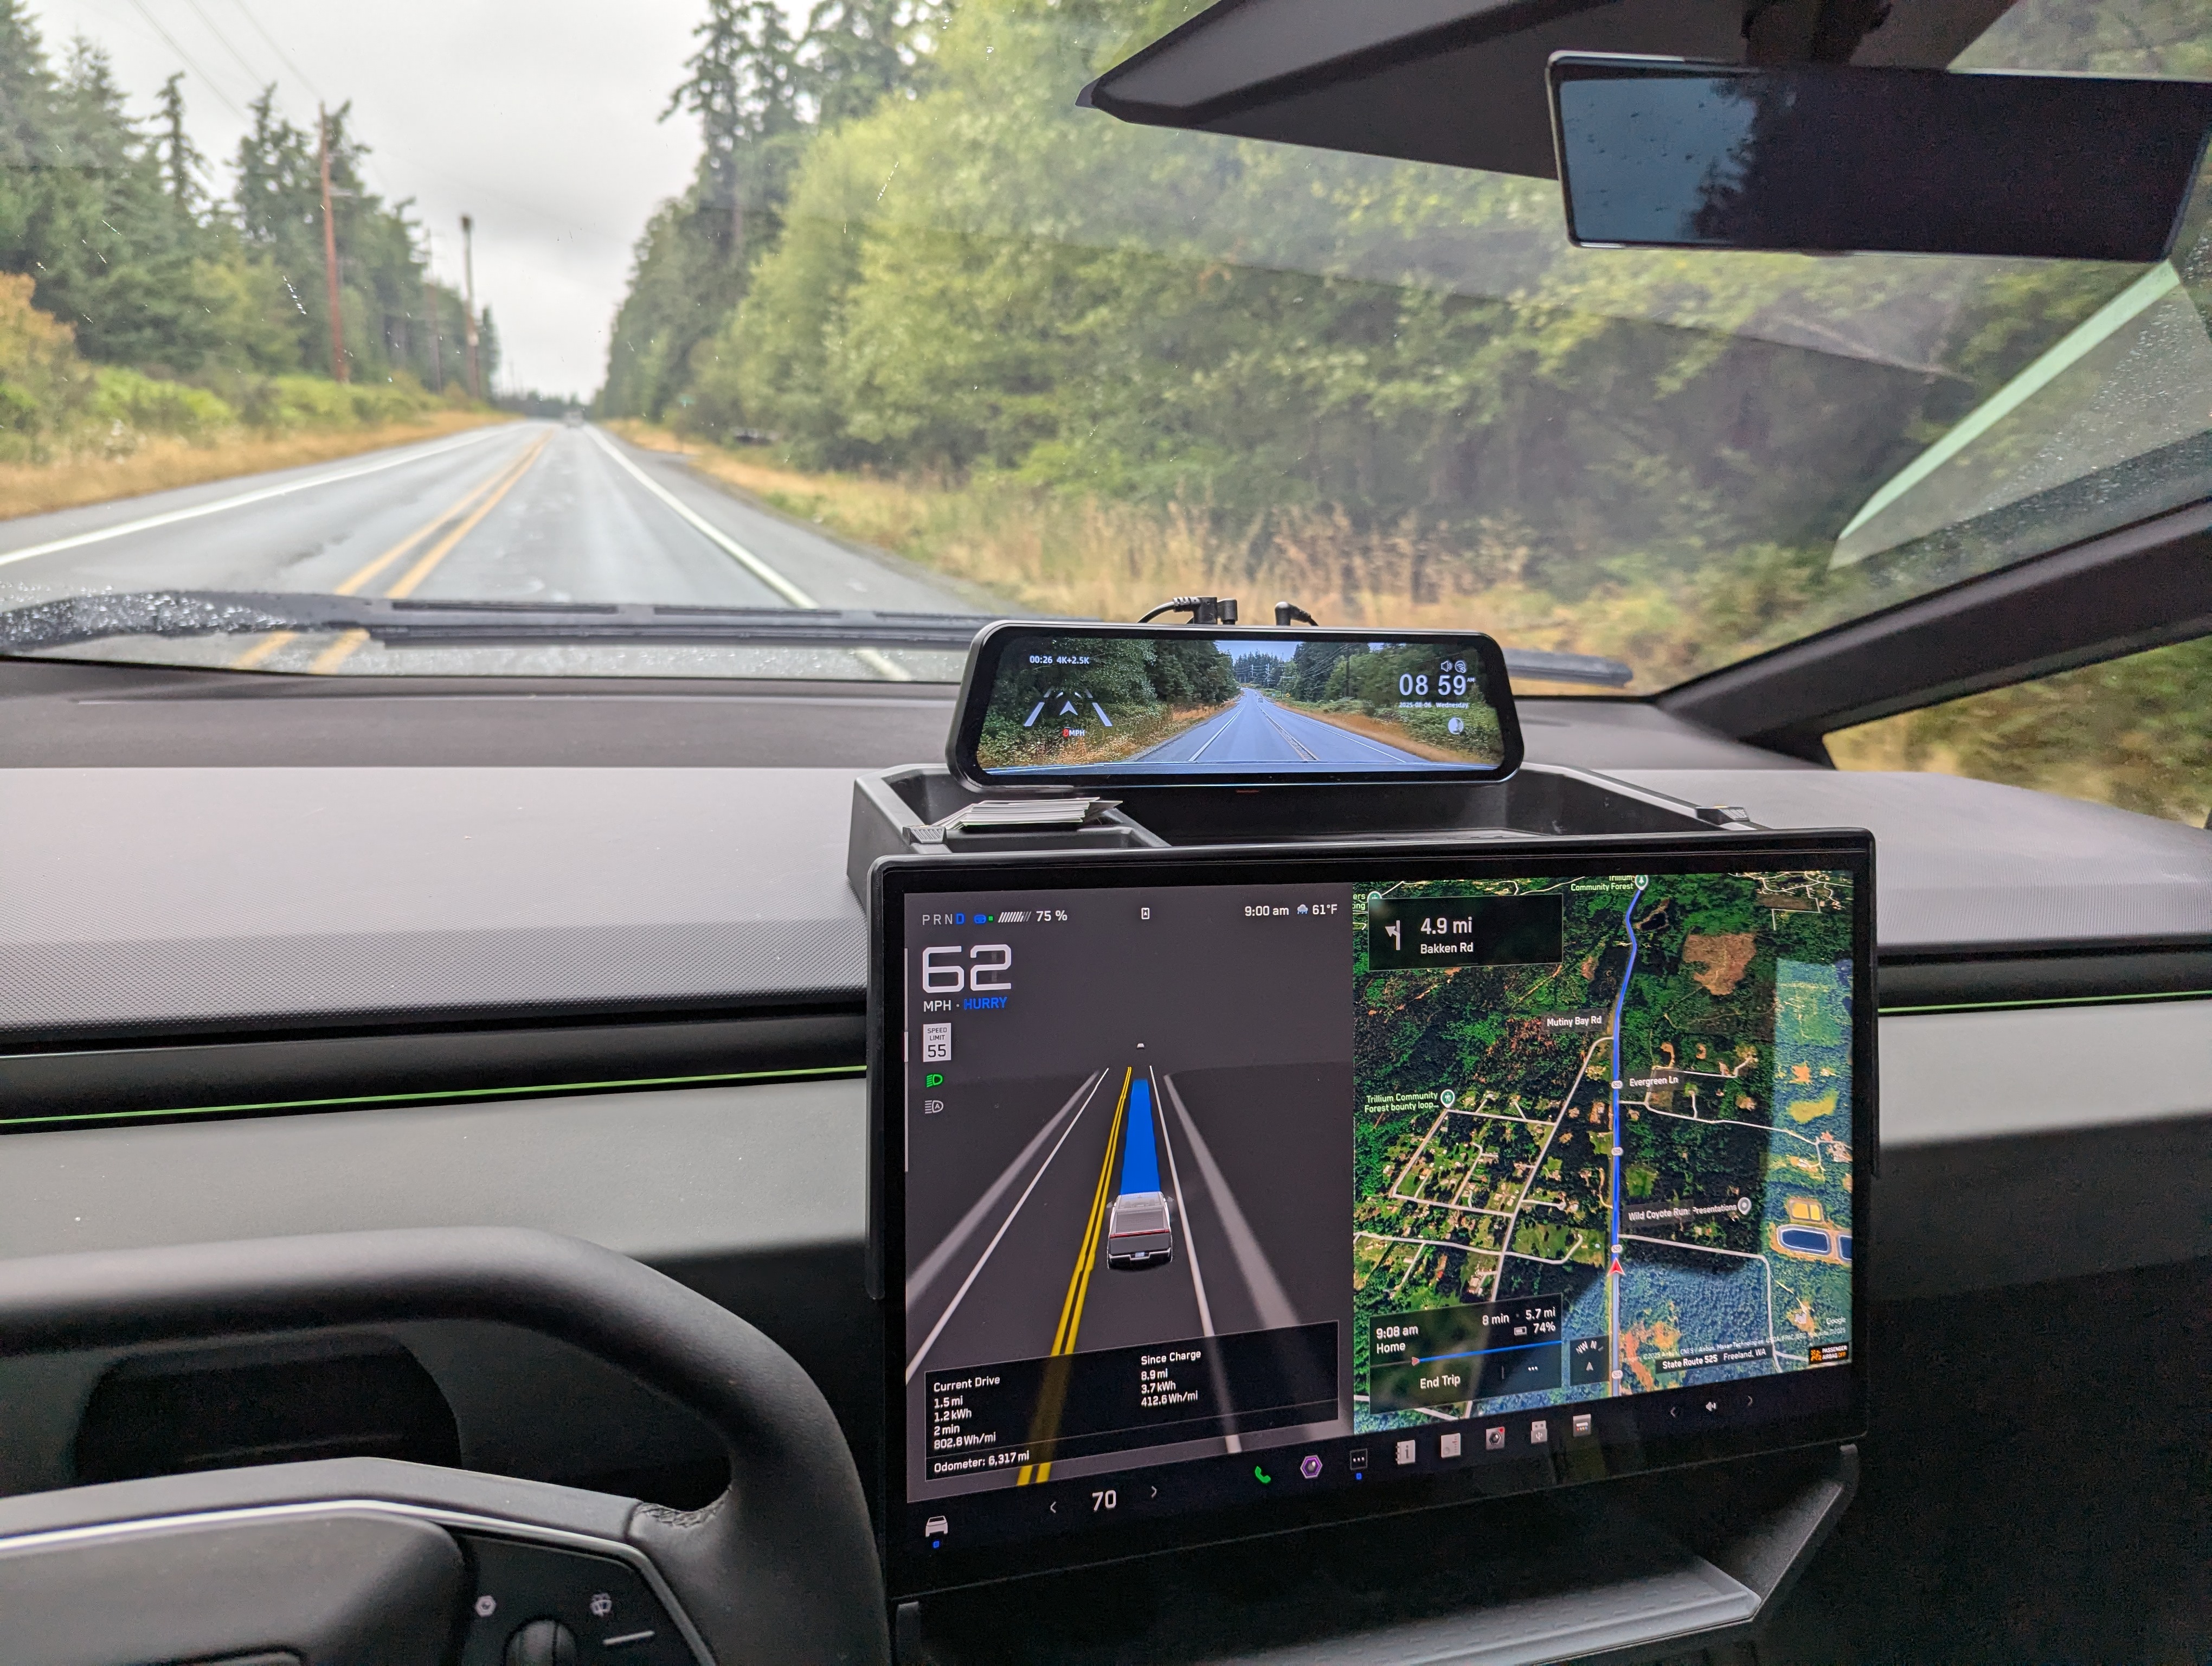
Since I have a large 3D printer, I decided to make all the mount adapters that way. See Wolfbox mount on Thingiverse
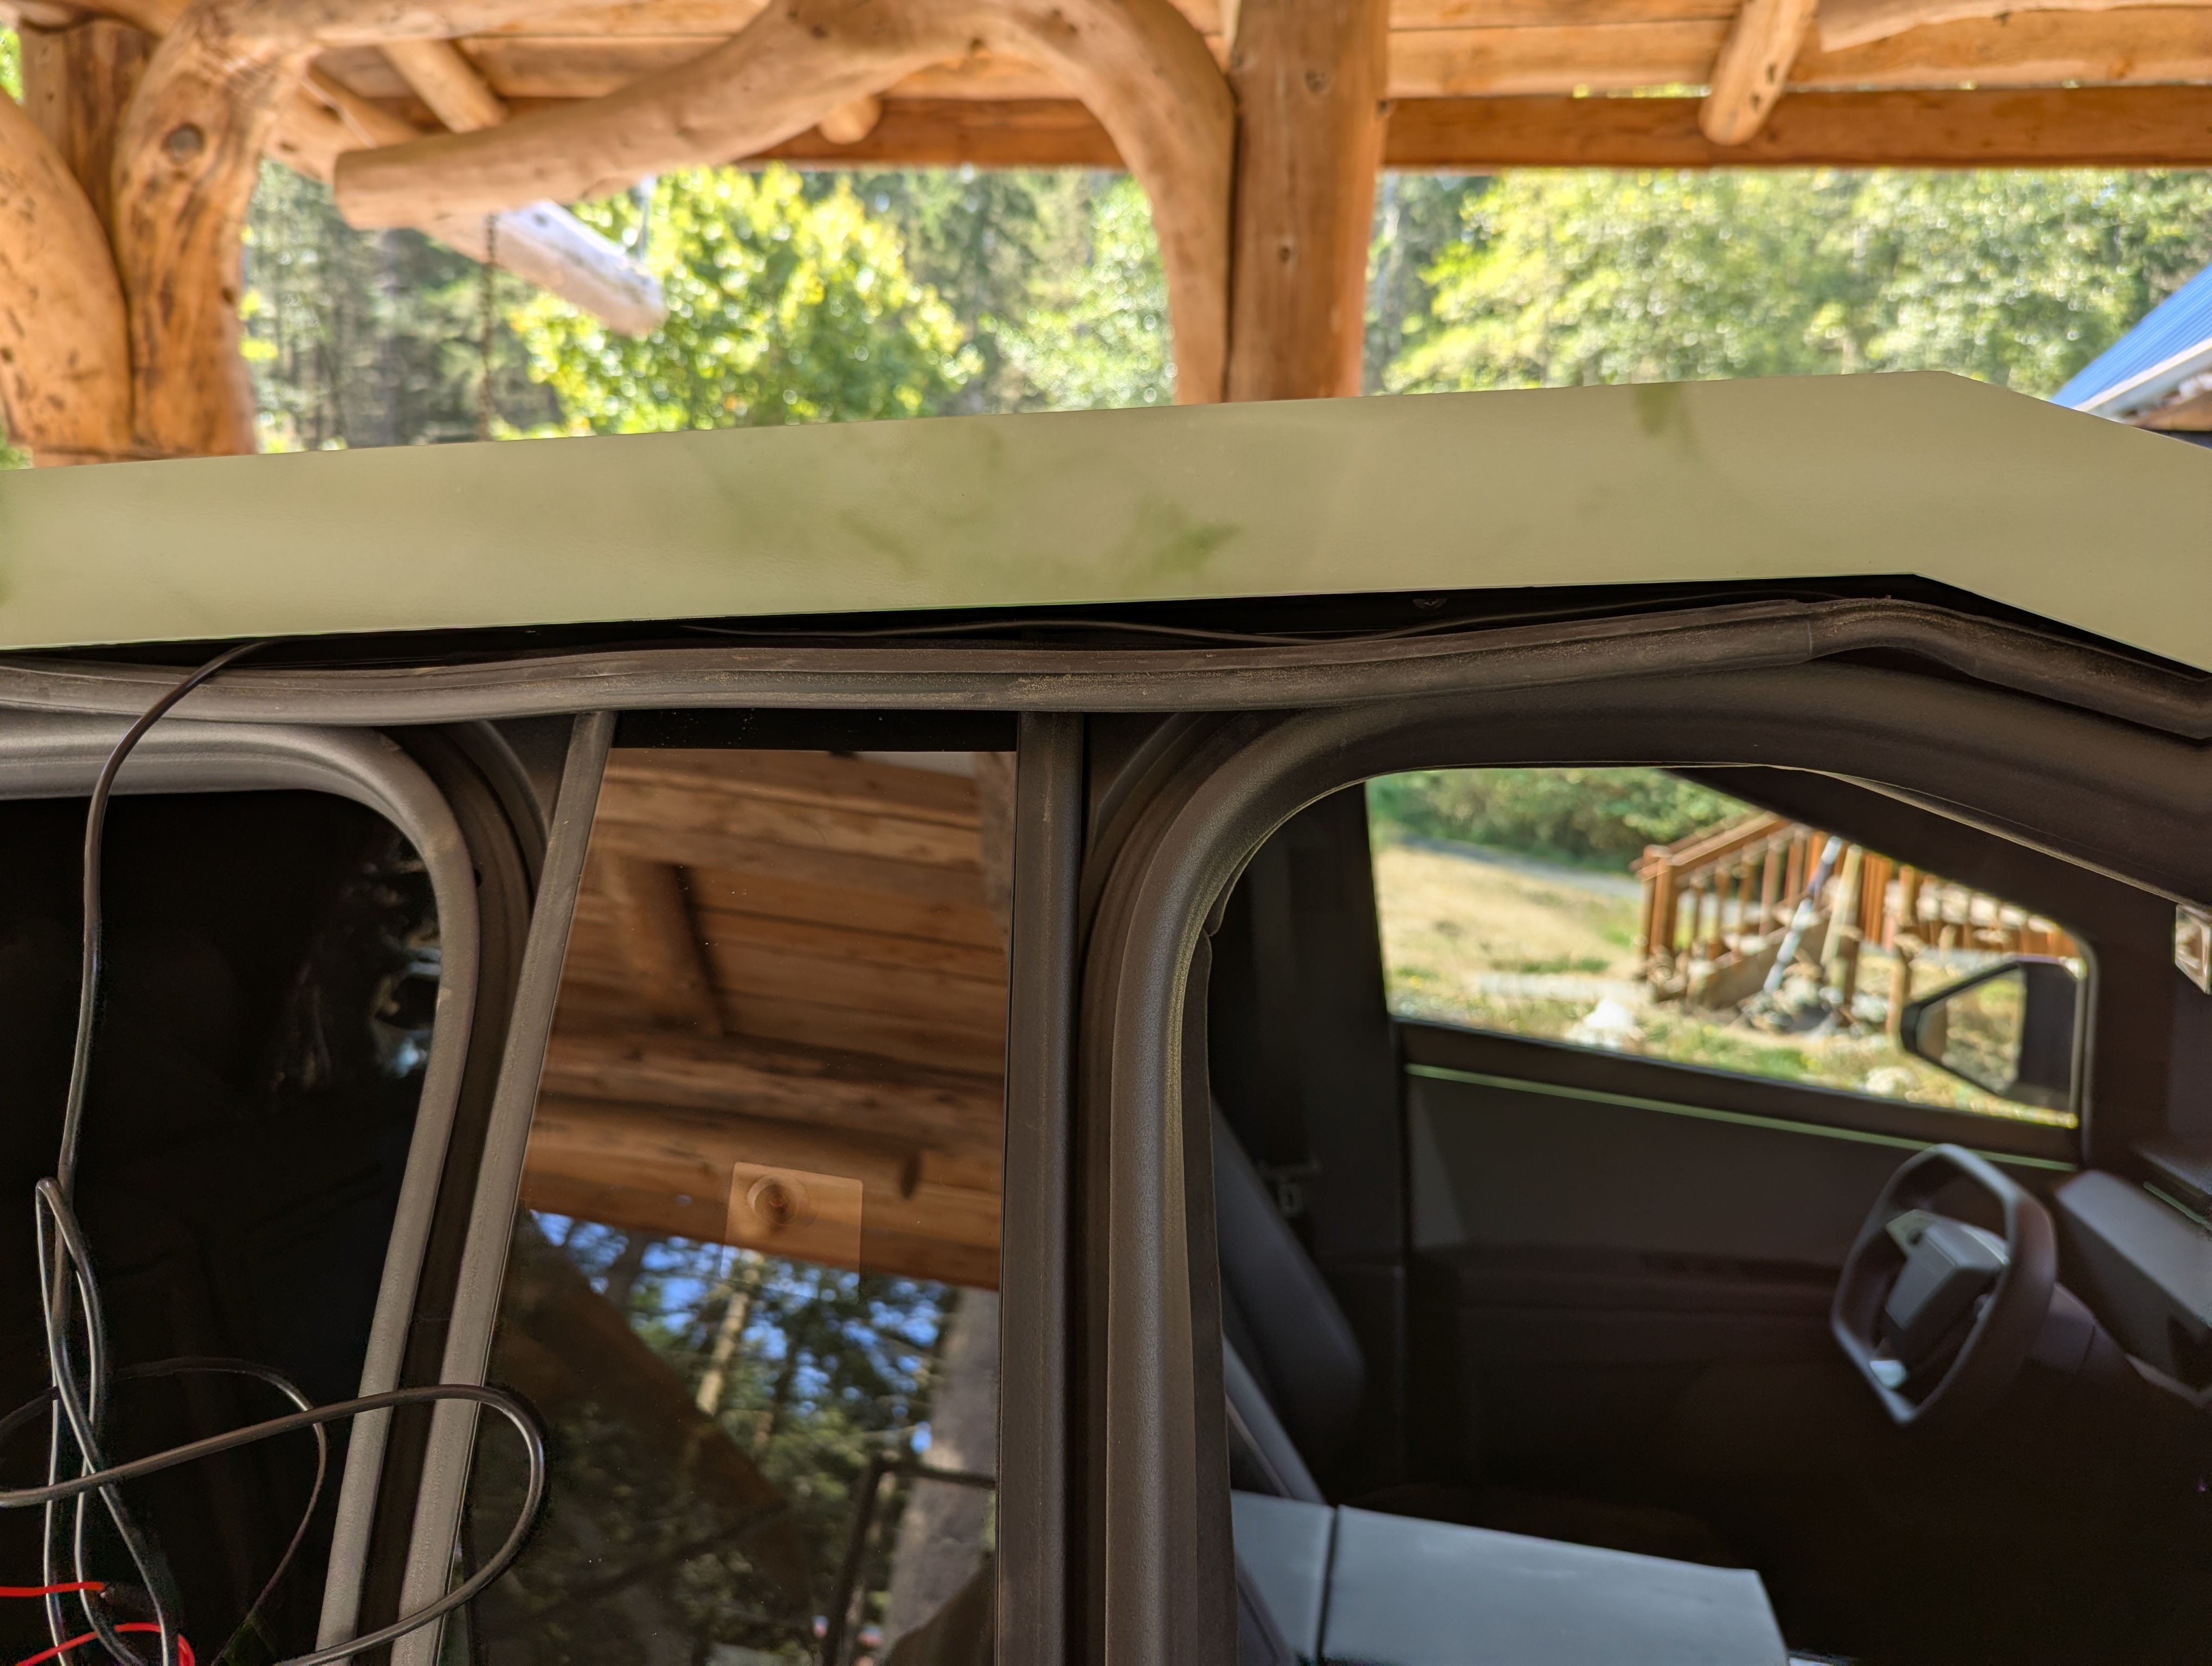
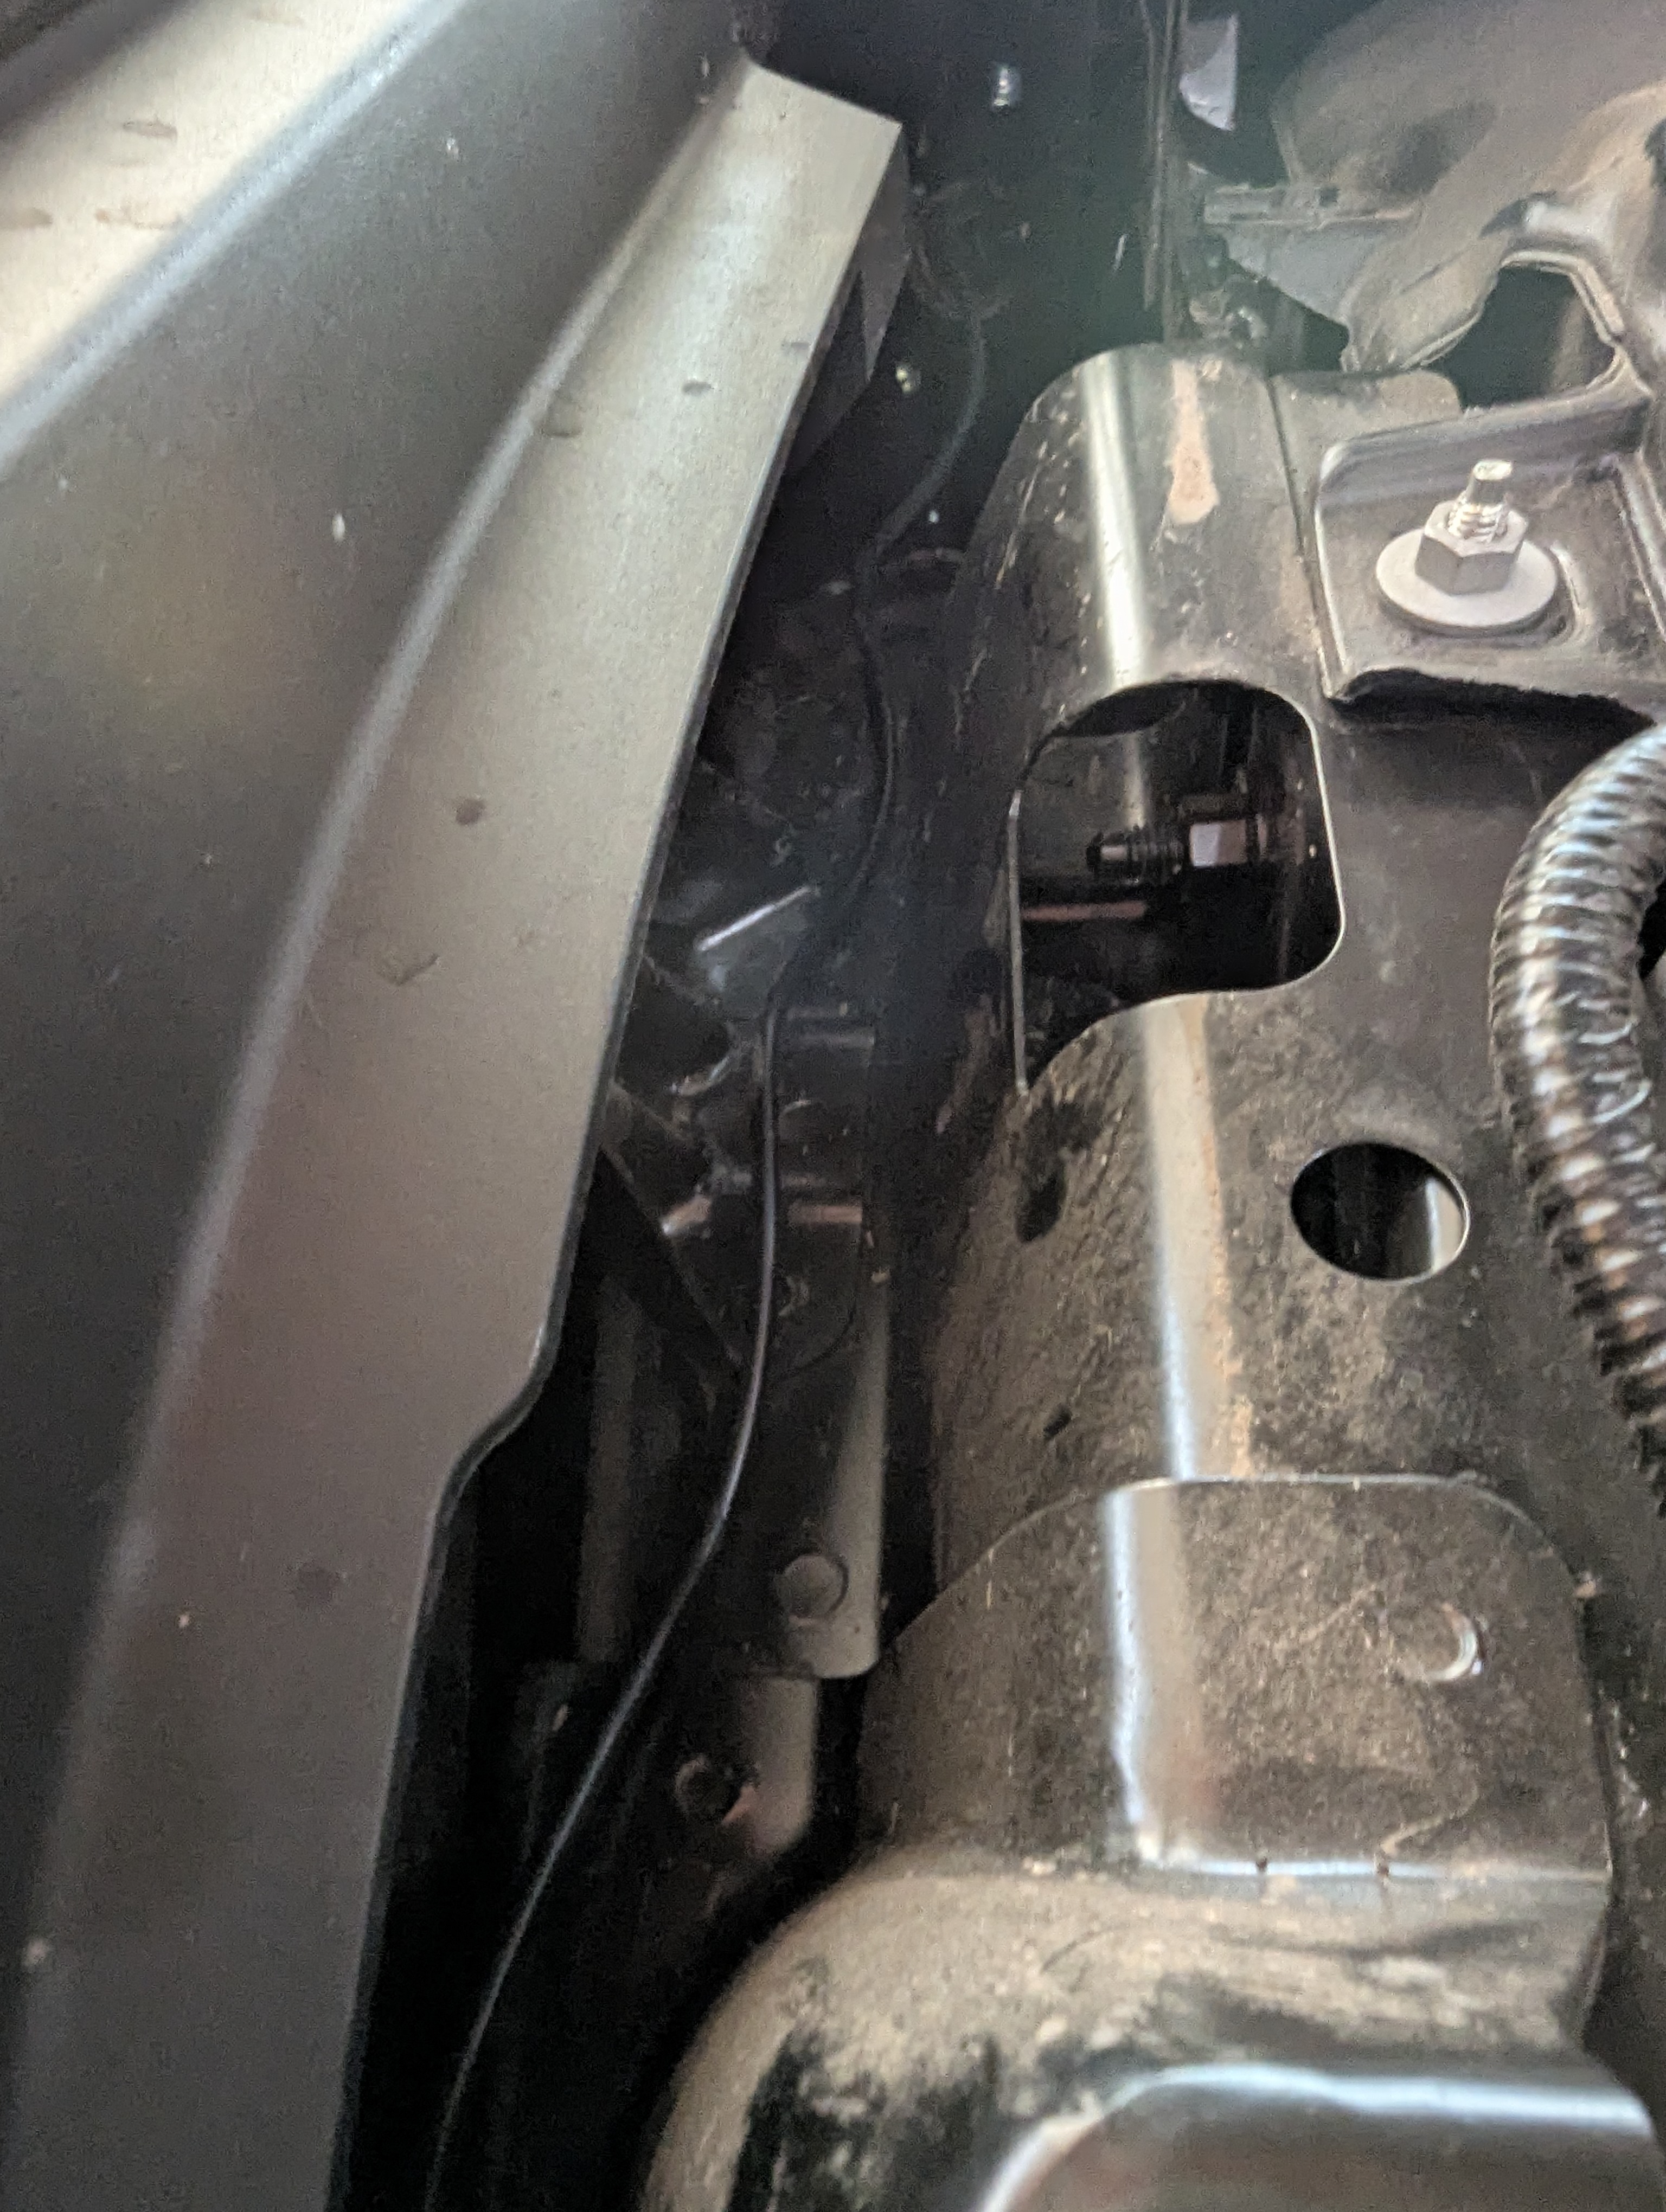
I had watched a couple videos on installing mirror mount dashcams, and used the info from them to figure out the route for the video cable. One of the things I found was that you do NOT have to remove either the B or C pillar covers. Just pull down the top gasket and run the video cable under it all the way across. At the very rear of the rear door, you will have to pull the gasket out of the back door jamb, then you can run the video cable up through the small gap under the top body panel to get it up into the area under the top plastic trim panel (which you have to pop up anyway.). After running the able, getting the gasket pushed back into the hole at the back requires you apply some lubricant to it. Then it slides in fairly easily.
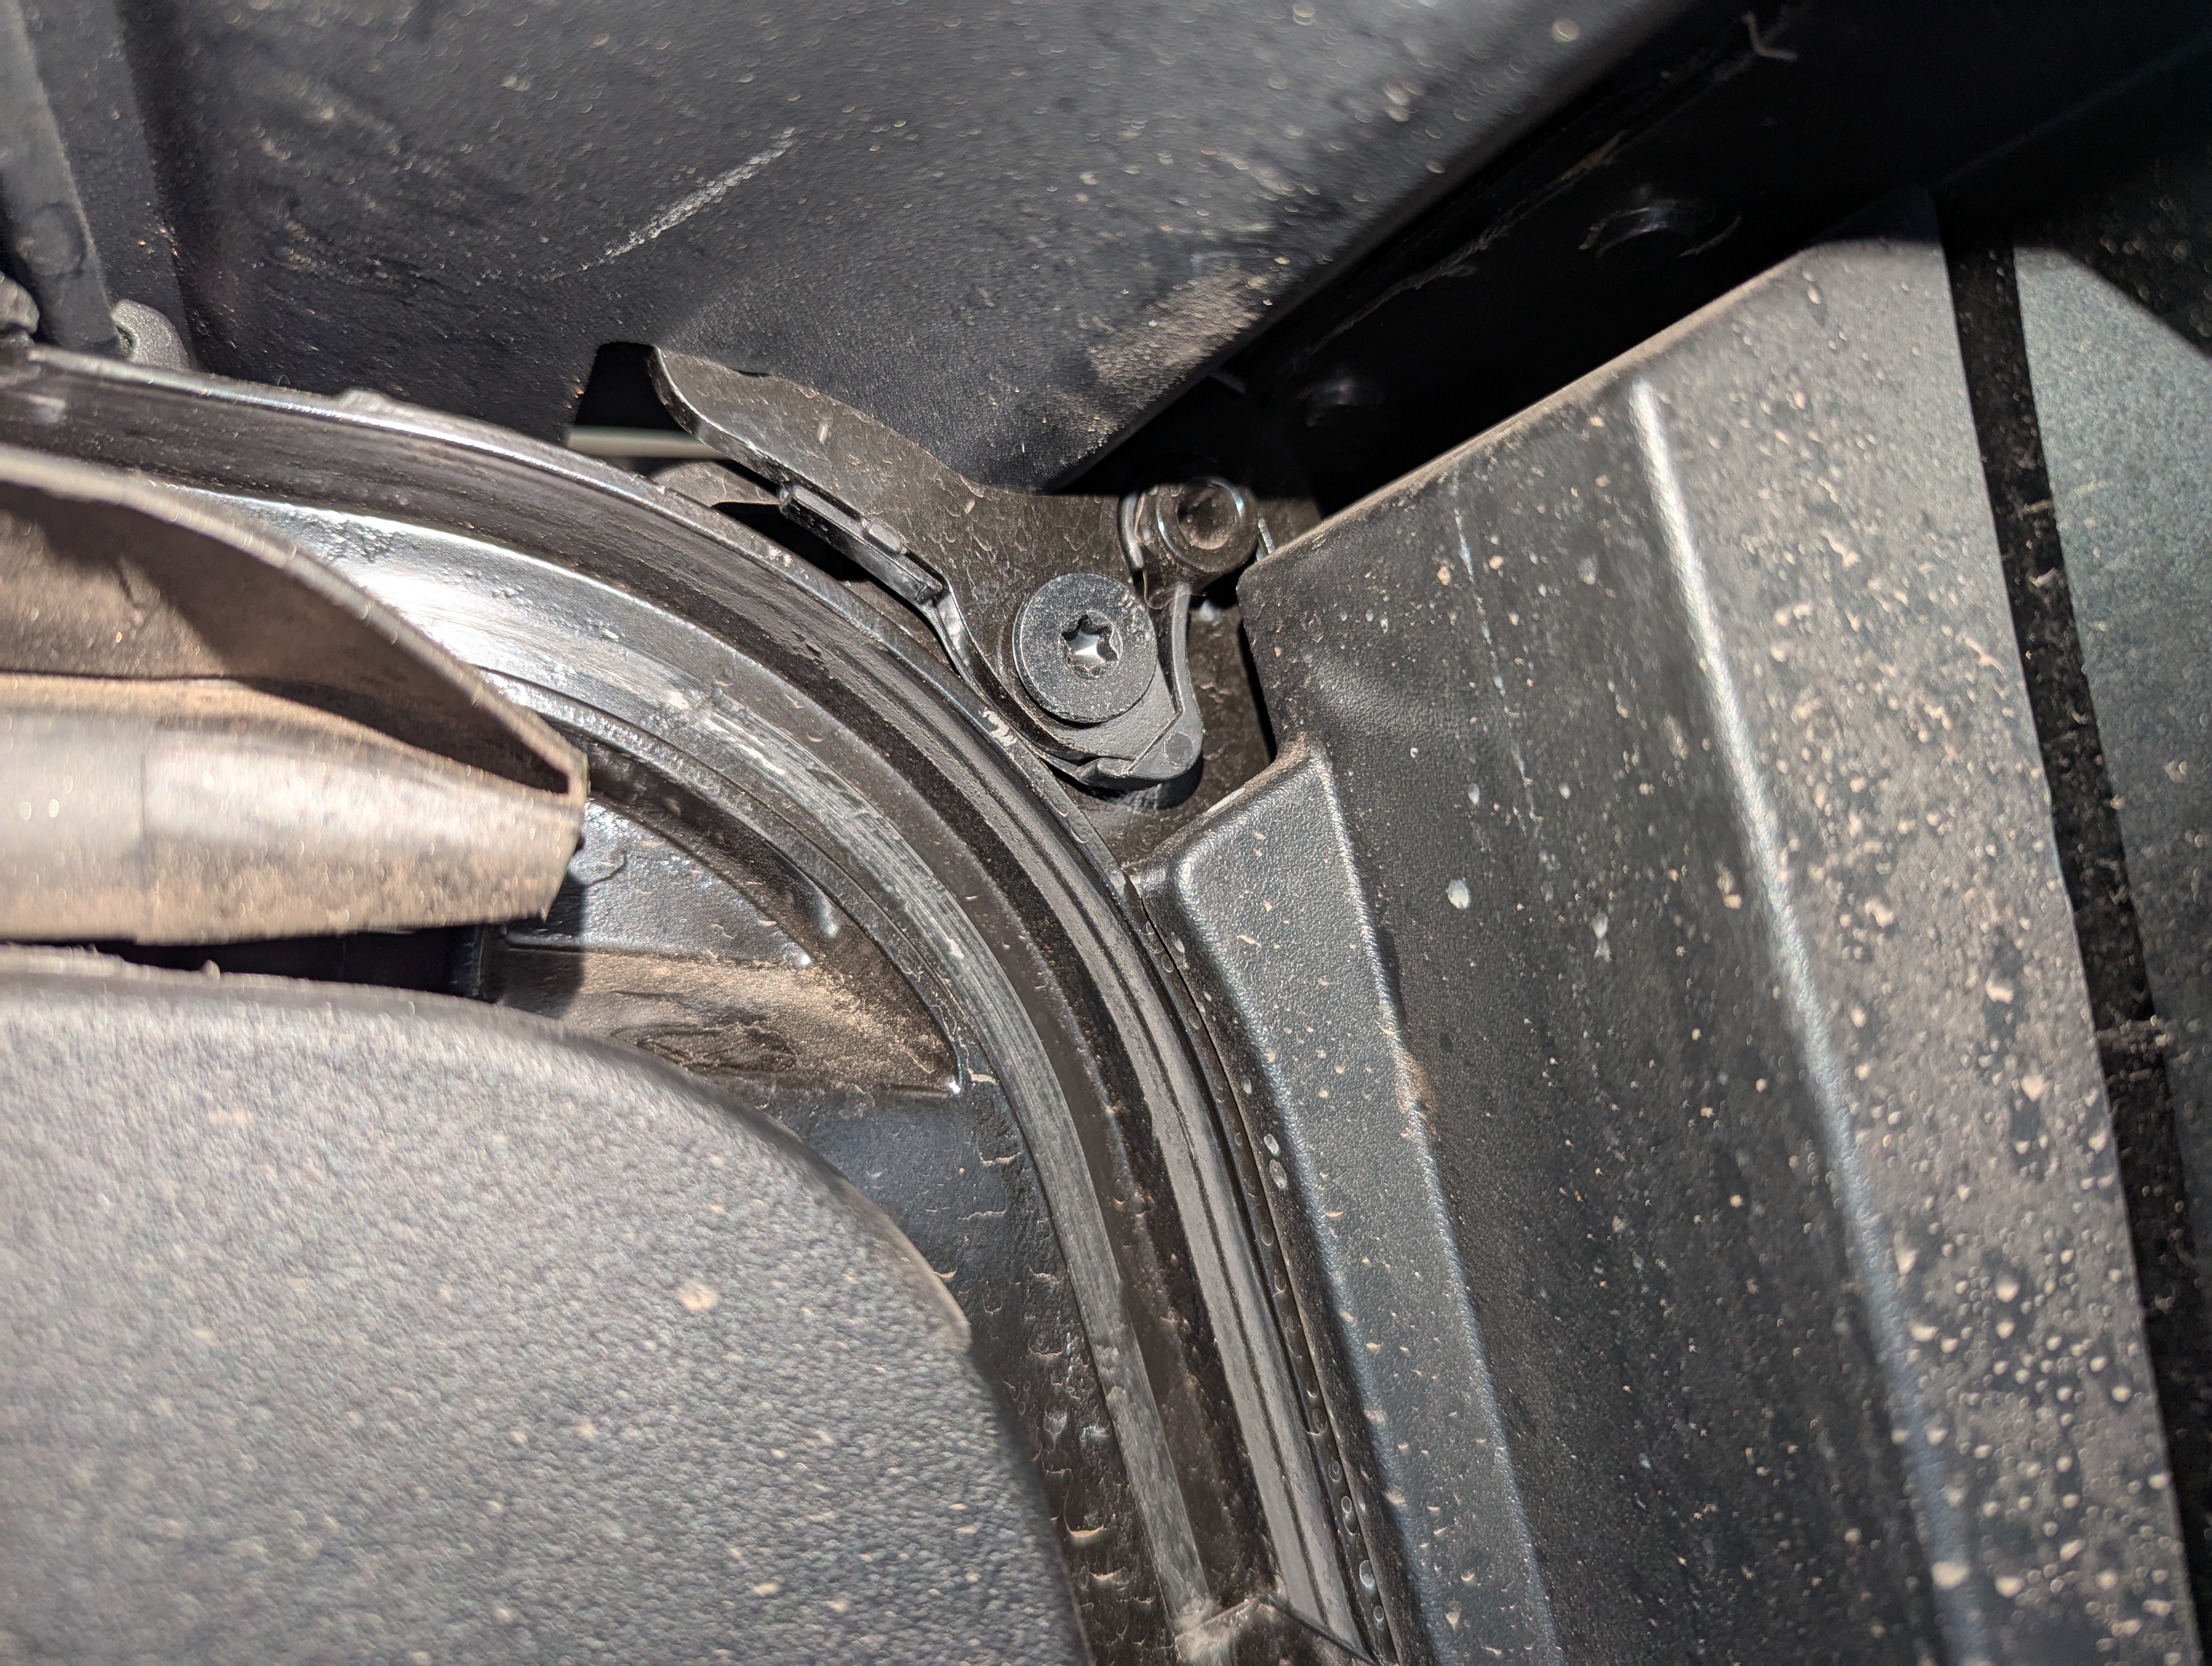
The next issue I found was that the Trim panel at the top/back of the bed did NOT want to pop off like the videos showed. I found that mine had a plastic retainer clip that had to be pressed to the side to allow the panel to pop up.
You can see the clip that starts under the star bit screw, and prevents the bracket from sliding up until the clip is pressed towards the back (left in this image) of the truck.
The videos also implied that you can just run the video cable along the gasket between the glass and the trim piece. Nope. There is a plug in the video cable that is too big to fit there. I ended up just allowing the cable to run under the trim piece, and used some pieces of tape to hold it in place. (3M double sided tape, just used it as regular tape. REALLY sticks...)
As you can see, I ended up taking the trim piece completely off, as I couldn't get the right side to snap back in place without tilting the trim piece up. Also, there is an alignment clip that holds up the rearward edge of the trim piece, and I had to lube it a bit as well so that it would snap into place.
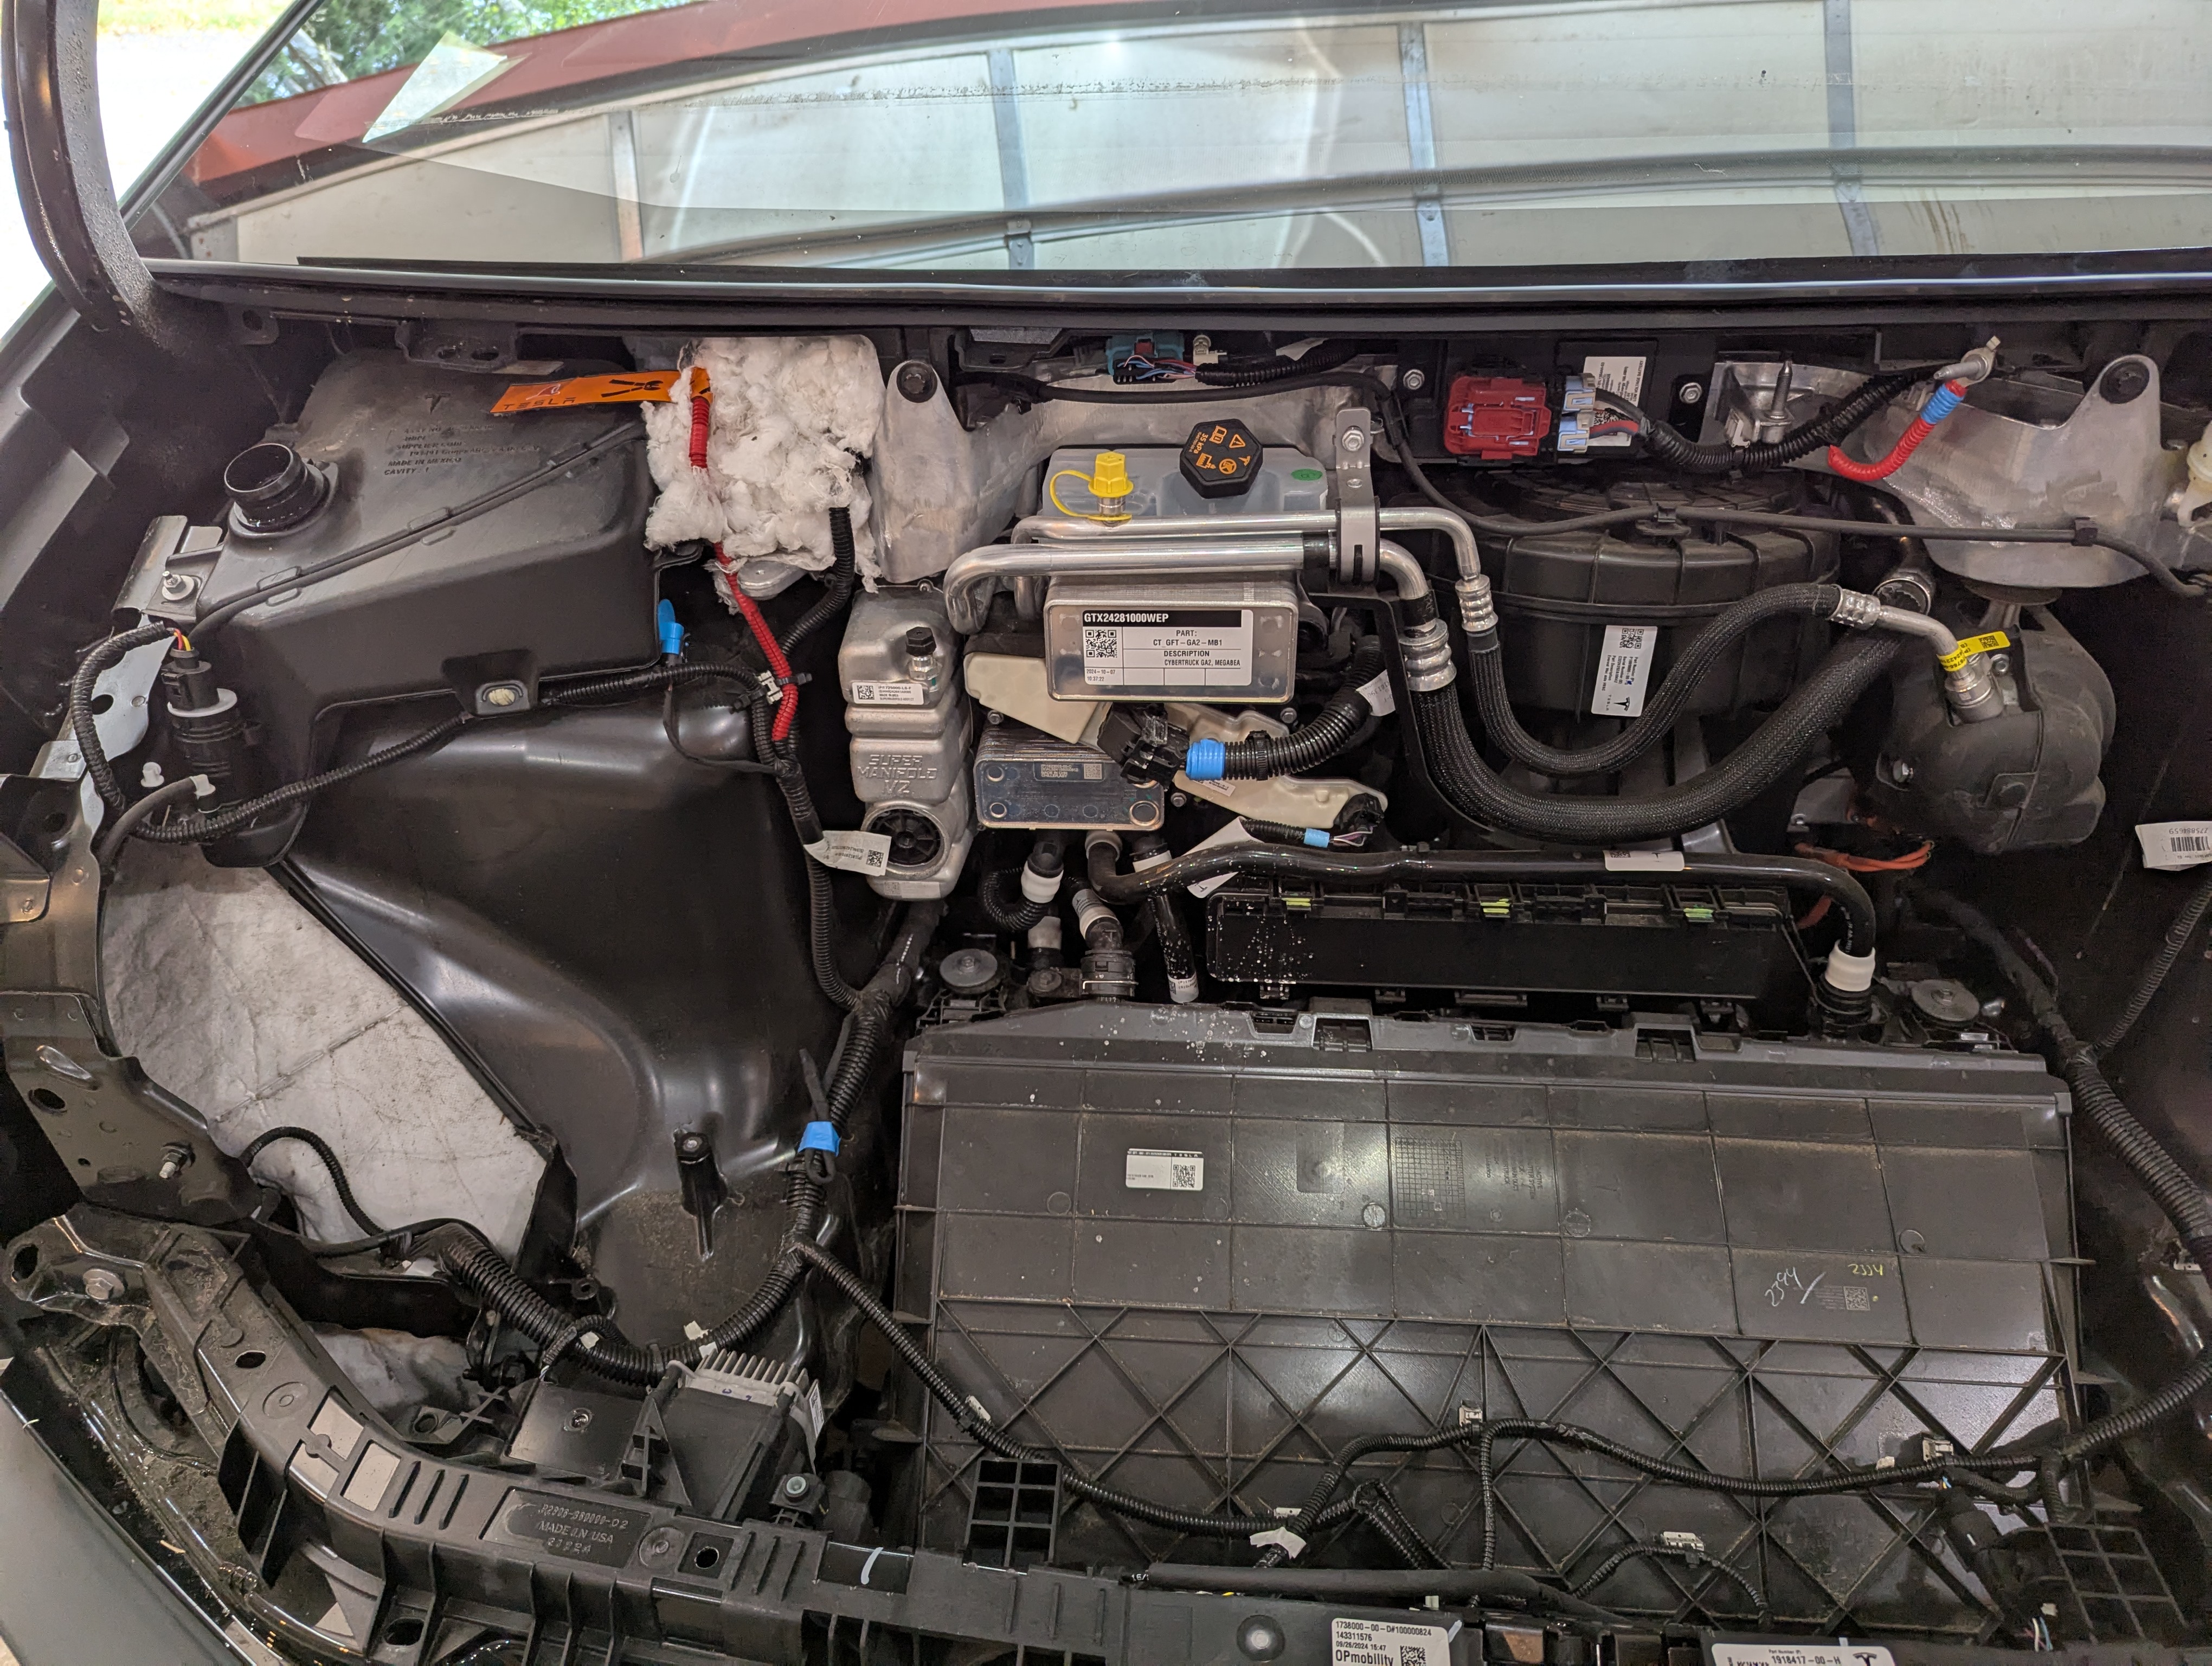
This is the view with the Frunk liner removed so that I can install a 48v to 12v power adapter, using the front Accessory Power. This power source (when enabled in the outlets screen), will turn on when the truck is "On". Exactly what I want for a Rear-view camera. The power leads are at the bottom left, held in place with a piece of blue tape.
Separated out the +/- 48v wires, strip the ends for connectors.

Installed the power converter (see: 48v to 12v converter. Since I didn't have the Wolfbox adapter that just wires in to the 12v system, I put a standard 12v lighter outlet on for the Wolfbox to plug in to. Note that while the power converter isn't physically mounted, it is held in place by it's wires being held down, along with there not being much room to move. I also padded the bottom of it so it wouldn't rattle.
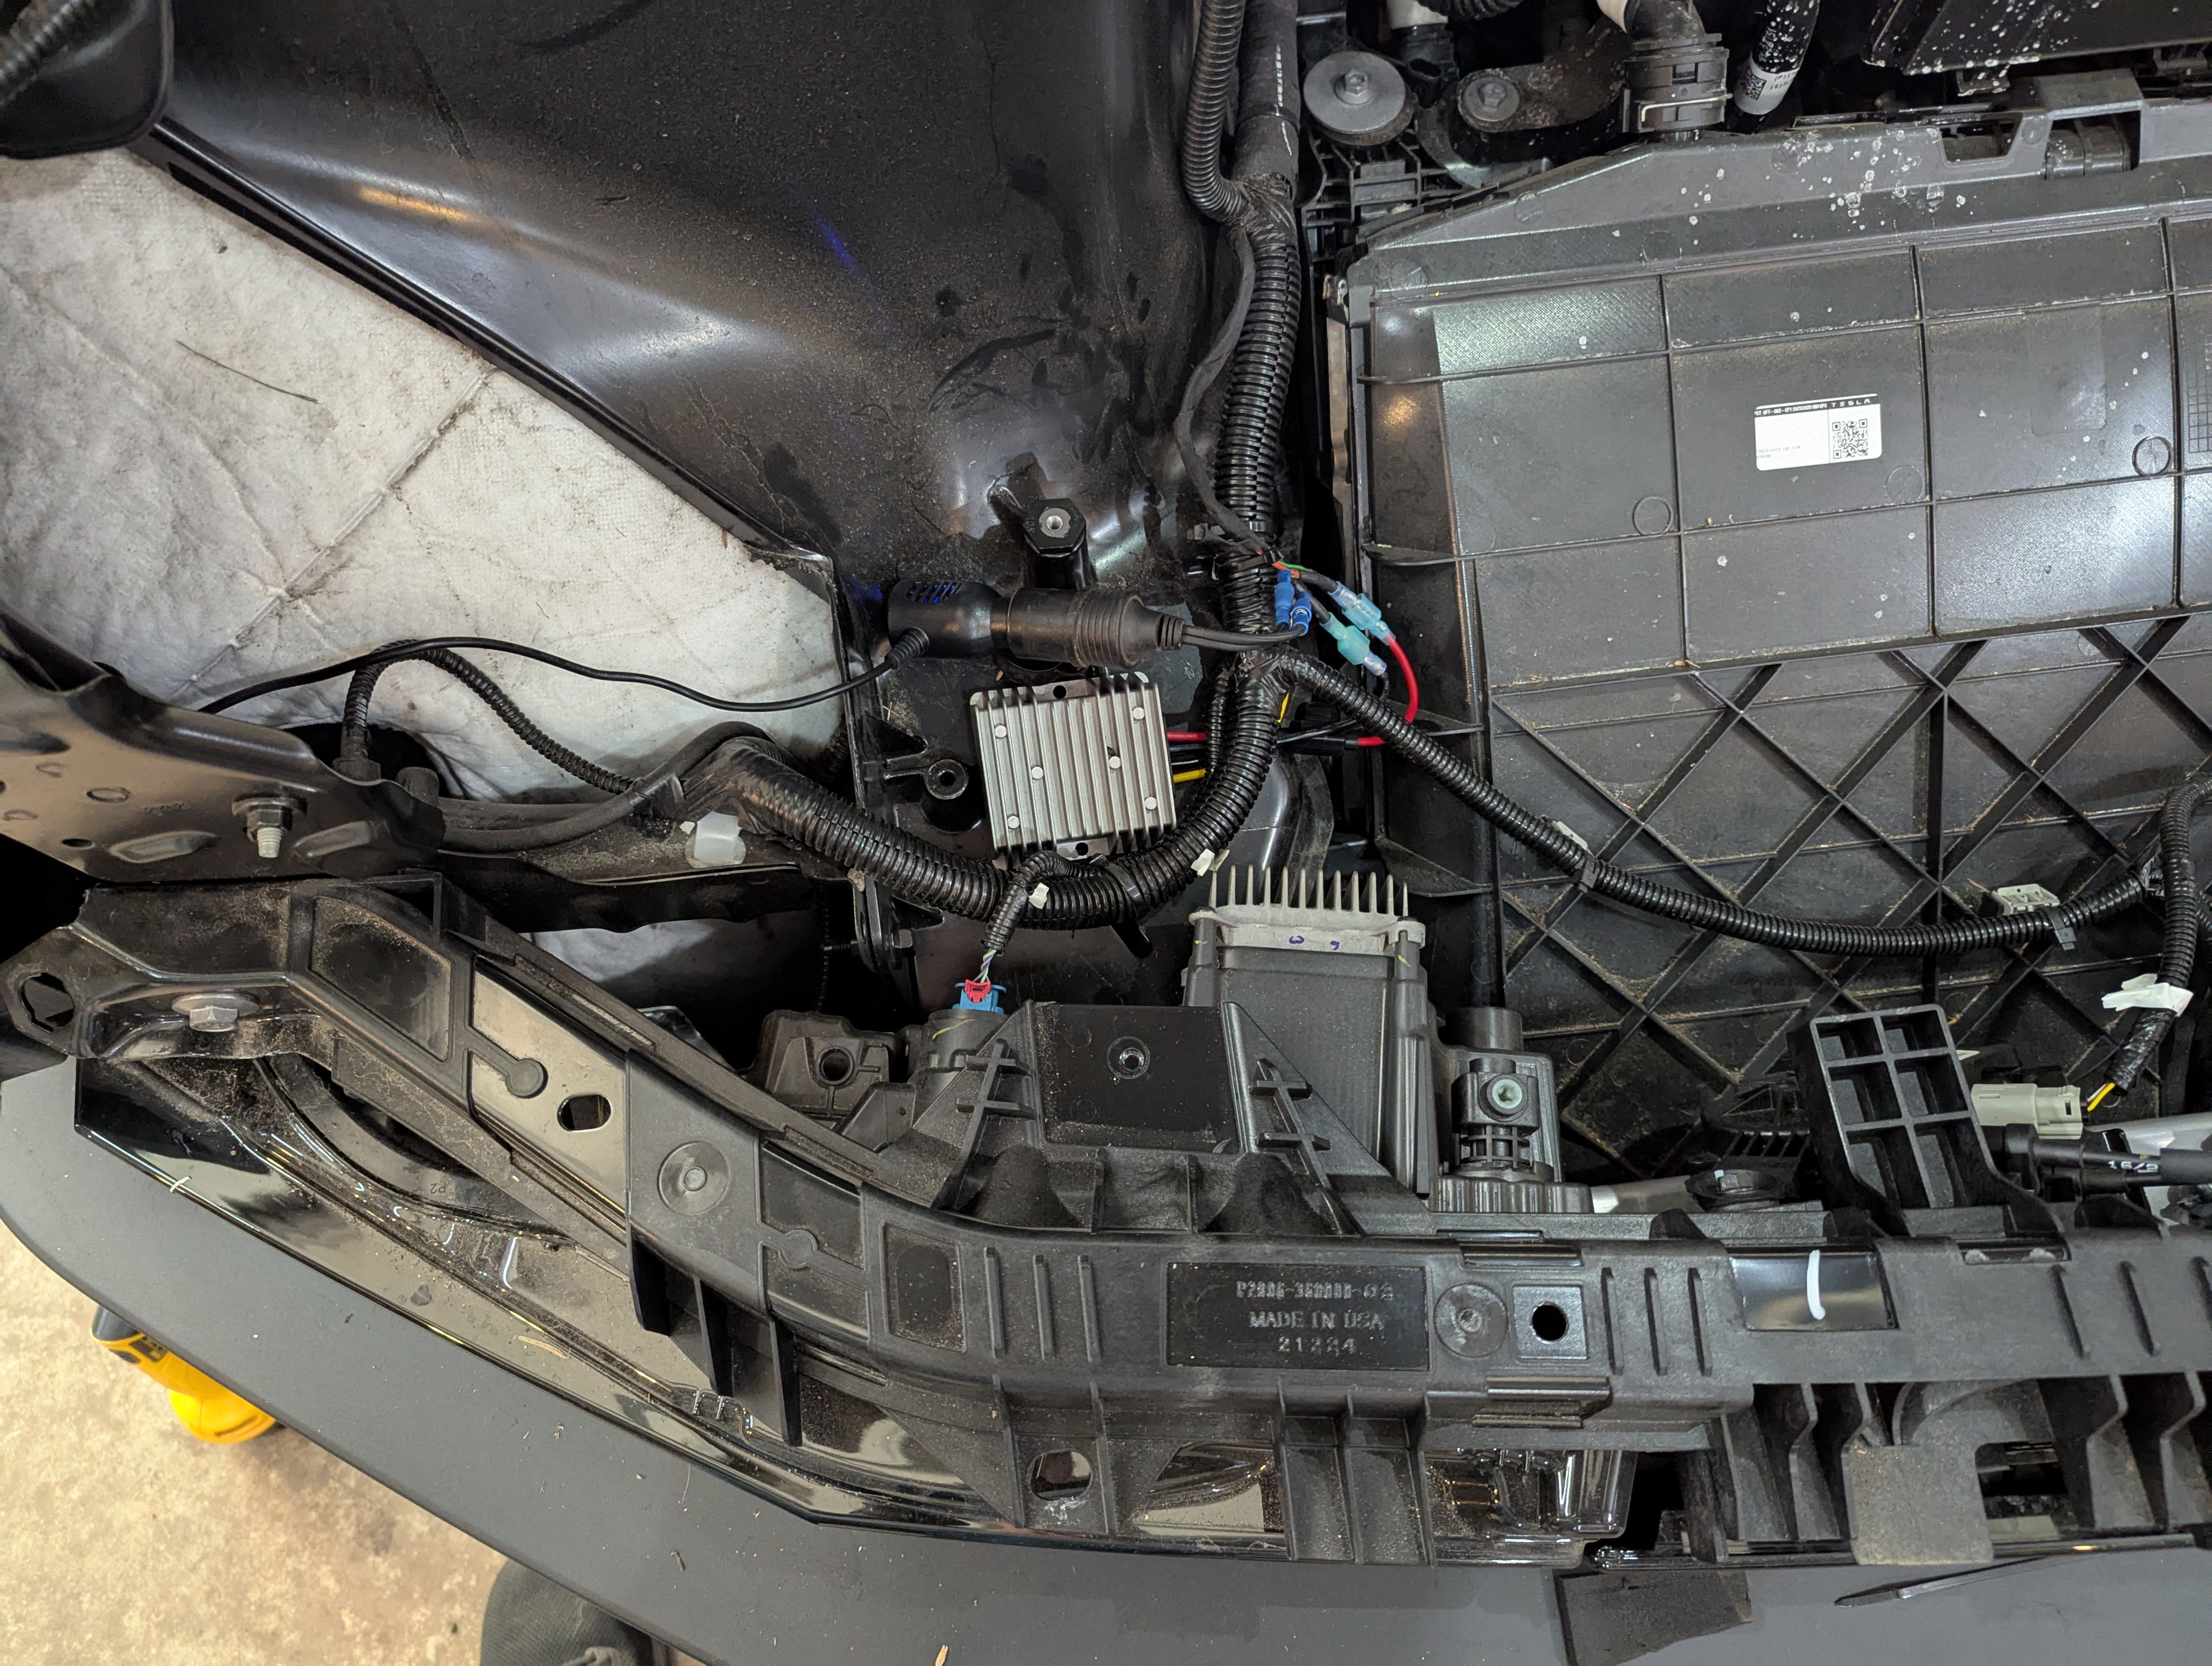
I really wanted to find a way to fish the wire through to the under-dash area, but couldn't figure that out. So I ran it along just inside the fender, to the door jamb.
then under the gasket and along side the video cable the rest of the way. Both cables are tucked up under the front edge of the dash panel.
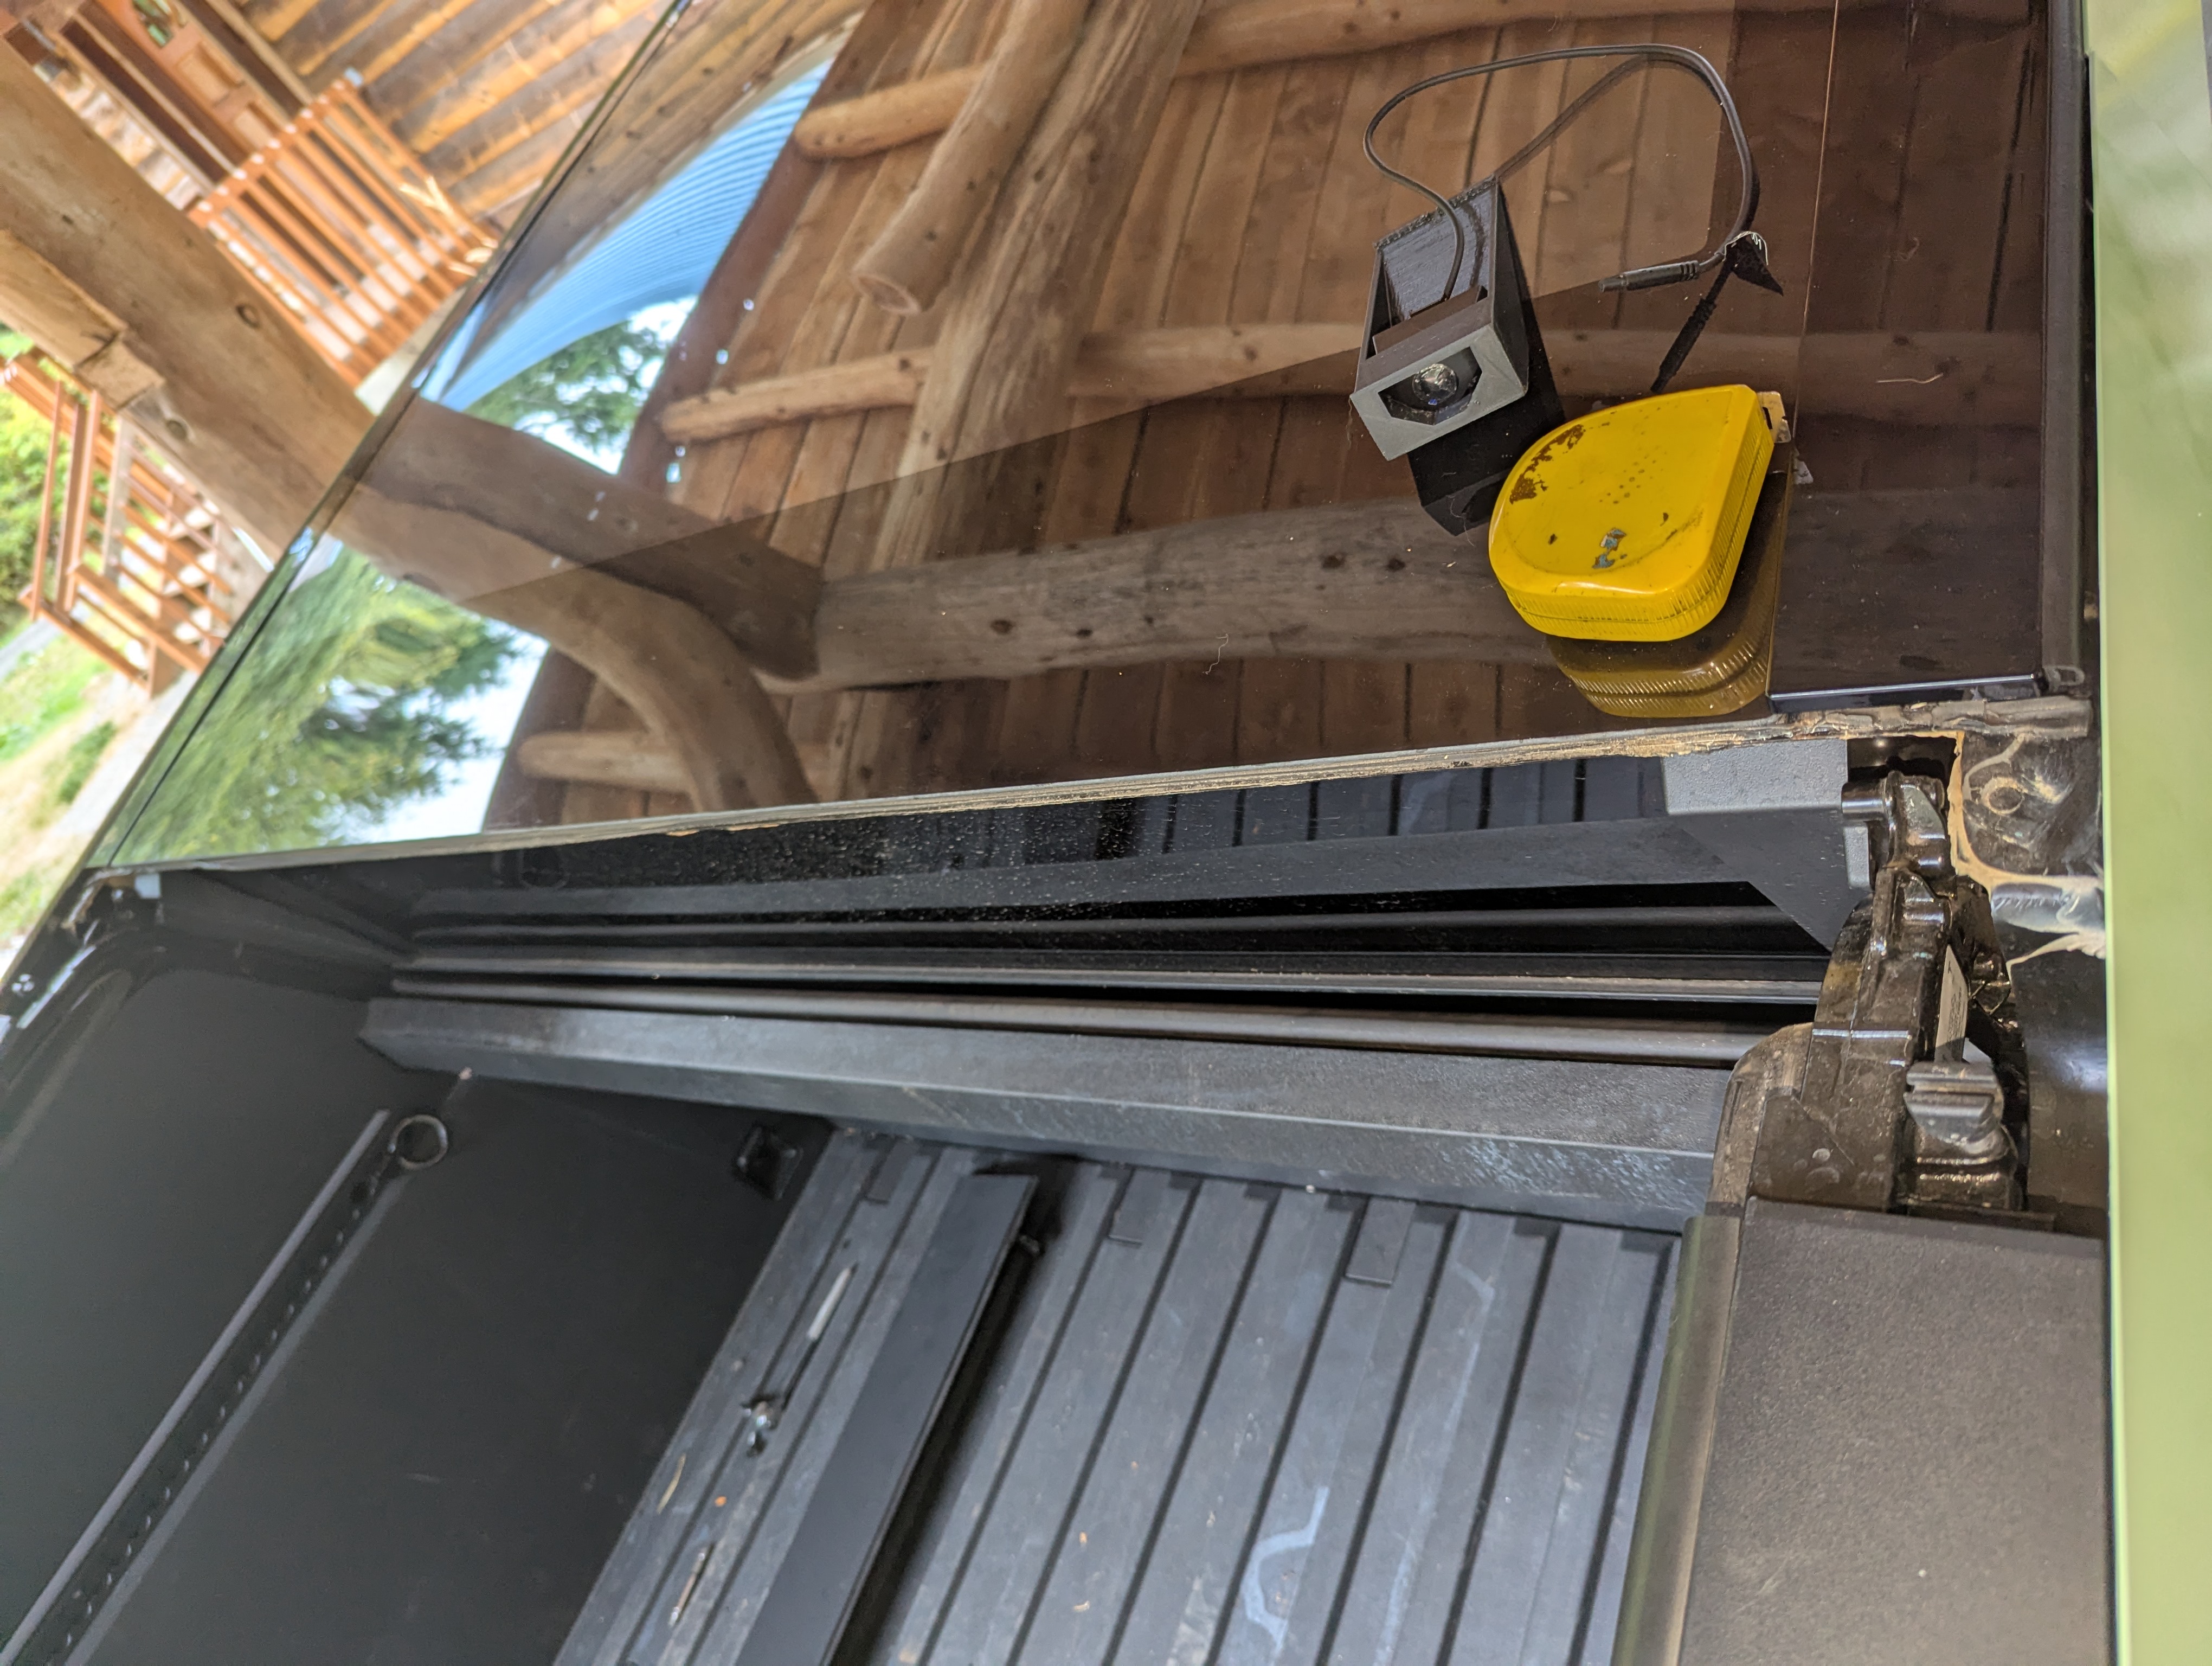
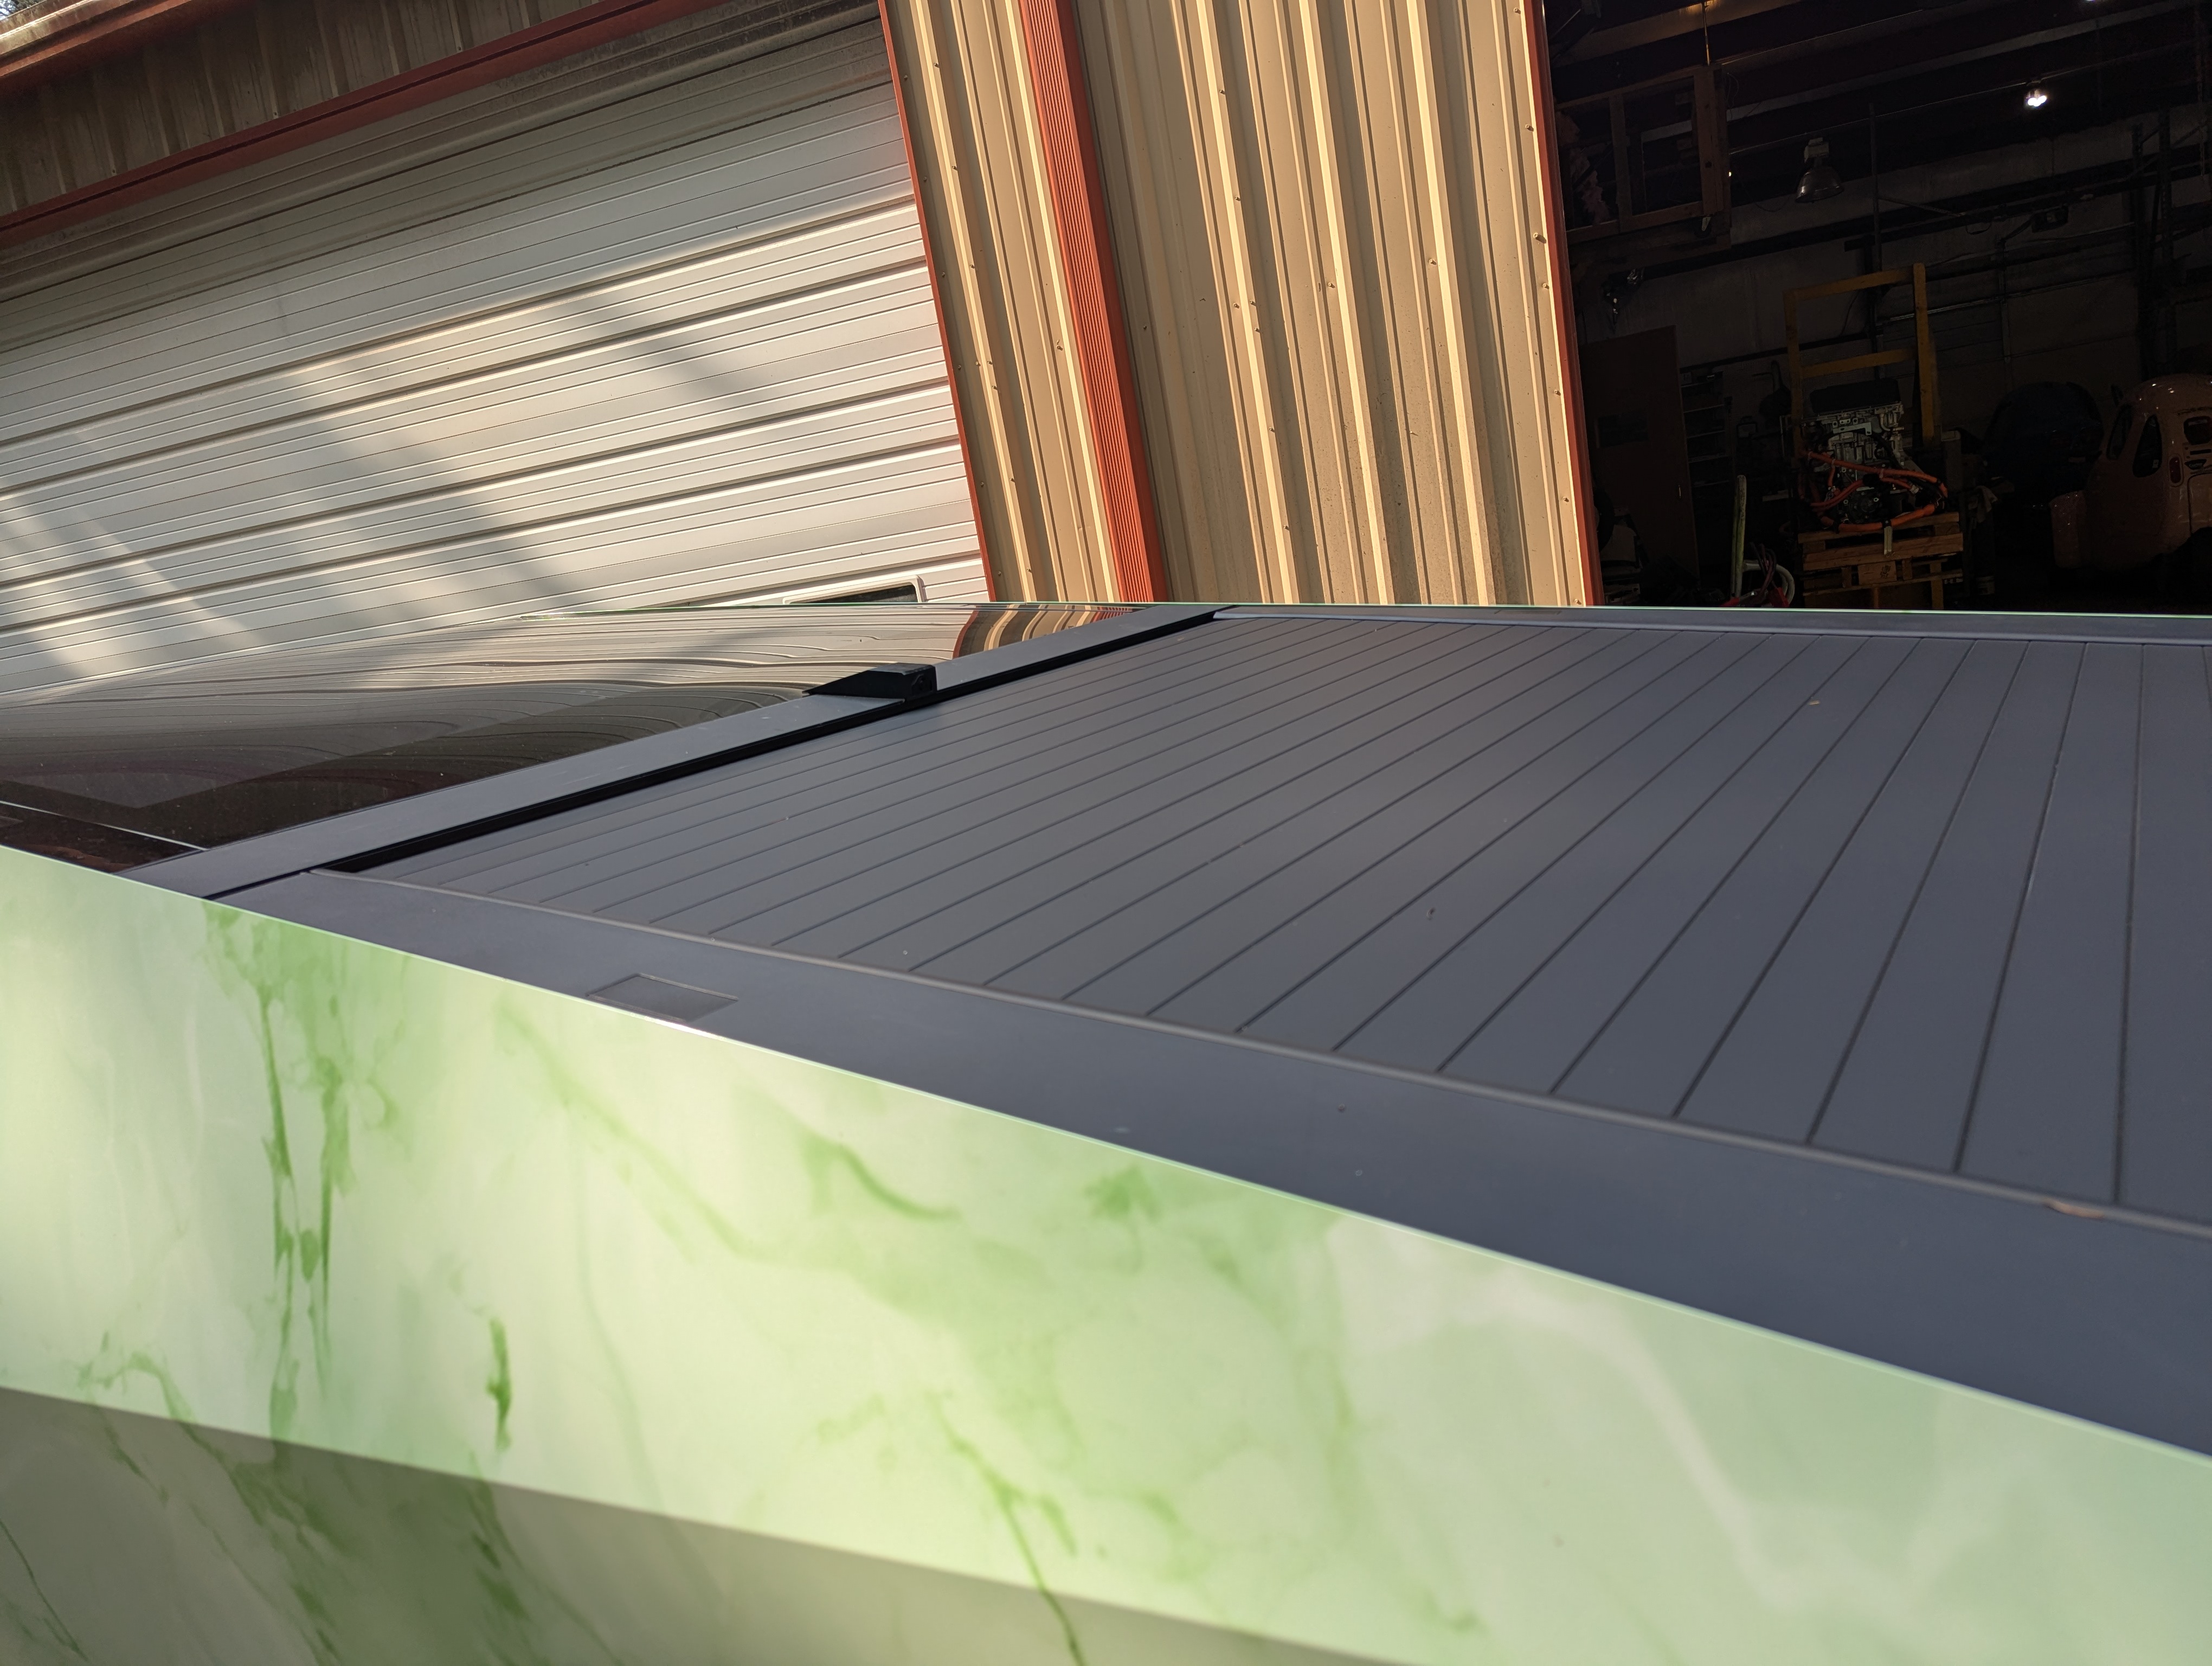
Camera mounted. Note that by mounting it right at the edge of the bed trim, it can see the bottom of part of the bed. (if you scroll the view down on the display.)
Dash rear view.
